
Step one: Don’t over-think it!
Creating a beautiful and practical garden design is much like baking a cake; all you need is a good recipe, and the right quality ingredients. You may have a pantry full of ingredients, but you wouldn’t use them all, would you? That’s the secret of a great garden design; less is more, bigger is always better, and keep it simple.
Like any design process, there are often too many options and ‘what if’s’, that will crowd in and overwhelm you, pulling you up short, even before you begin. Help is at hand; just take it one step at a time.
Firstly, you must take an accurate account of the area you wish to design.
Measure
Measure the entire site, marking in boundaries and services (water, sewerage, powerlines, phone cables and easements. North, south, east and westerly aspects, existing trees and structures.) Mark in the closest sections of any built structures (main house, sheds or garage) as this will give you a better idea of the scale you’re working with.
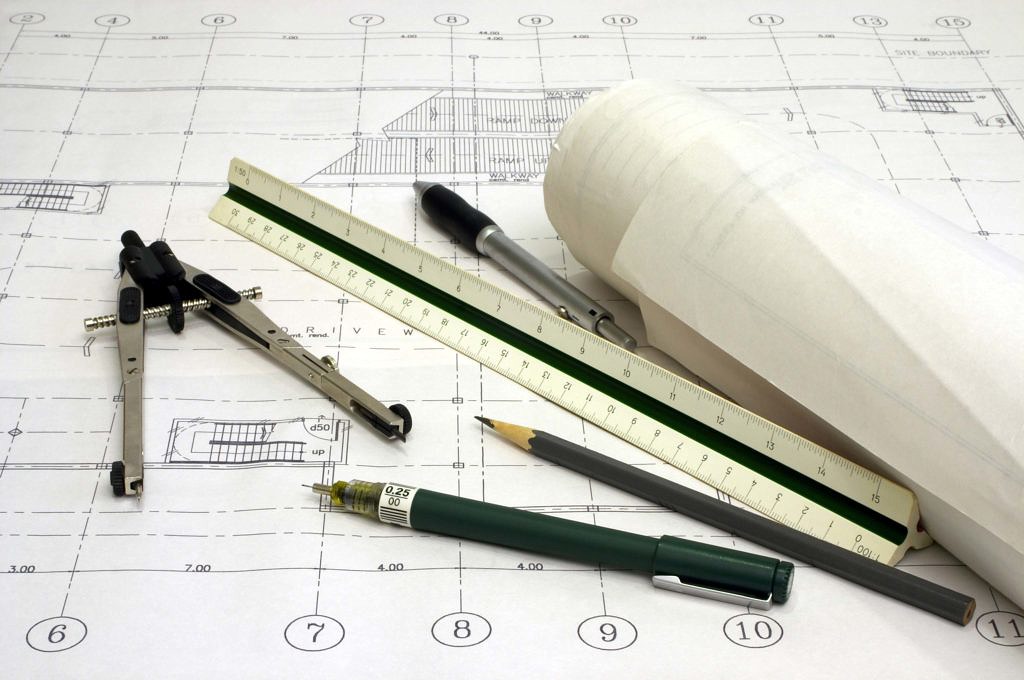
Transfer all of this onto graph paper at 1:100 scale. This means that, for every one centimetre on the paper, it represents one metre on your site. You can purchase graph paper at most newsagents. There’s no need to be meticulous down to the very last millimetre; you just need an idea of the entire area; a lot will change once you finally come to marking out your garden.
What Style?
Hopefully, you will have an idea of the sort of garden you want, be it formal, native, wild or something in between. If you have an idea of the plants that you want to use, run them by your local nursery. They’ll be able to say whether or not your chosen plants will tolerate your climate and position. Frost, strong wind, soil quality and drainage are all very important details that will either make or break your design. It’s also a good idea to take note of what is already growing well in your neighbourhood.
If you want to include a deck, pathway or gazebo, now is the time to plot them onto your base plan. Get some advice on size, dimension and the materials you’ll be using. Remember, bigger is always better. Undersized structures will become insignificant within the space, once everything else grows.
Have some photos of your space handy all the time, this helps you ‘visualise’ the shape and size of the space.
Key Elements
The key elements to consider are proportion, flow and transition through the garden space. Functional areas need to be practical. Visualise foot-traffic areas, shaded areas, and always keep safety for children, the elderly, and animals in mind when designing steps, paths and under-foot materials. Your design needs to draw the eye through the garden, maybe creating surprises where none is expected and, hopefully, provide a unique ‘feeling’ within the space.
Once you have a final plant list that you want to utilise, begin by working out those areas in which you require height, and in which areas you will need unobstructed vision. Check which ones tolerate full sun, or need shade. This helps eliminate some from your list, making the choice easier. Think about the seasonal colour you will achieve with each plant. This way you can plan colour all year ‘round.
Now is also an appropriate time to have your soil tested for pH, as well as its structural makeup. If it’s heavy clay or very rocky, you will need to improve it with organic material. This is best done by digging your existing soil over, and then incorporating the new organics, and mixing the two together. Double check now if your plant list will cope with your new soil. At Wingham Nursery, we can do this testing, and advise you regarding the steps to take, if any are necessary.
Zones
The easiest way to position plants into your design is to section the garden beds into different zones. Remember to use groupings of 3, 5 or 7, this gives more impact to the layout of the garden, and decreases the chance of a ‘too-busy’ garden. Remember that a garden will always be evolving once it’s planted. Some of the worst mistakes made may turn out to be strokes of genius, or monumental disasters! Anything is possible, but don’t panic, mistakes can be always be fixed later.
Tree positioning is important in the initial stages, too. How much shade they’ll cast, and how large their root systems may become, will all effect what you plant beneath them. Focal points can be planned now too; statues, seating or mirrors. Two specimen plants that will mirror each other across the space work well too.
It’s a good idea to have a ‘play’ with lots of shapes and ideas on your site plan. Use tracing paper to sketch down your ideas, as an overlay on your site plan. Once you’ve ‘nailed’ the right look, you can then draw it onto your base plan. When plotting plant choices, make sure you use their established size on the plan, i.e., Gardenia Florida grows one metre tall by one metre wide. You must allow for their final growth size when plotting them, or else you’ll over-crowd the planting. Keep in mind that you need your garden edges to be easily maintained too. Curved garden edges are much easier to mow than straight ones. Using coloured pencils on your garden plan can often help you ‘visualise’ the garden better too.
Mark It Out
Once you’ve completed your design, the next step is to mark it out on your actual site using a spot spray marker, tape measure and string line. You can also lay rope or garden hoses down for the edges of your garden, to give you a more 3D picture.
Once you’re happy with the design, you will need to spray any grassed areas with herbicide, dig them over and incorporate organic material. Try to create some contouring of the beds too; mounded gardens look so much better than flat ones.
You’re nearly there! Purchase your plants, place them on your garden beds (still in their pots), using your layout plan and the correct spacing for growth. Get them all positioned until you’re happy with the look. Don’t stress if there are gaps, or something doesn’t look right. Your design will always change at this stage. There is always something that you may have mis-measured or just doesn’t look right ‘on the ground.’ Tweak it ‘till you think it’s right. Even omit something if you have to do so.
Pot Holes
When you’re ready to plant, dig all of the holes for your plants, and sit your potted plants into the holes. One last check, do they still look right? If so, remove pots, fill all holes with water, fertilise and plant your plant. Water in once more, and rake the soil ‘till it’s tidy again. Spread your mulch, and then water it all once more. This will lock water into the root zones and it will also ‘glue’ the mulch to itself and the soil by this step.
Done!
Check the soil under the mulch every few days, if it’s damp, leave it alone. More gardens suffer and die from over-watering in the initial stages, than from any other cause. Make sure the mulch isn’t piled up too close to stems and, especially, grasses. This leads to mould and collar rot to plants, which can kill them quite quickly.
Monitor your new creation closely; if some plants are suffering, you need to know why, and fast! Take a sample of the sick plant and its soil to the nursery for diagnosis asap. With young plants, you only have a small window of opportunity to save them, and your hard-earned cash.
Remember, arm yourself with knowledge, and seek advice whenever you feel overwhelmed by the process. Don’t over-think it; there’s always a reason and there’s usually an answer.
Tanya Sawyer.
Wingham Nursery & Florist